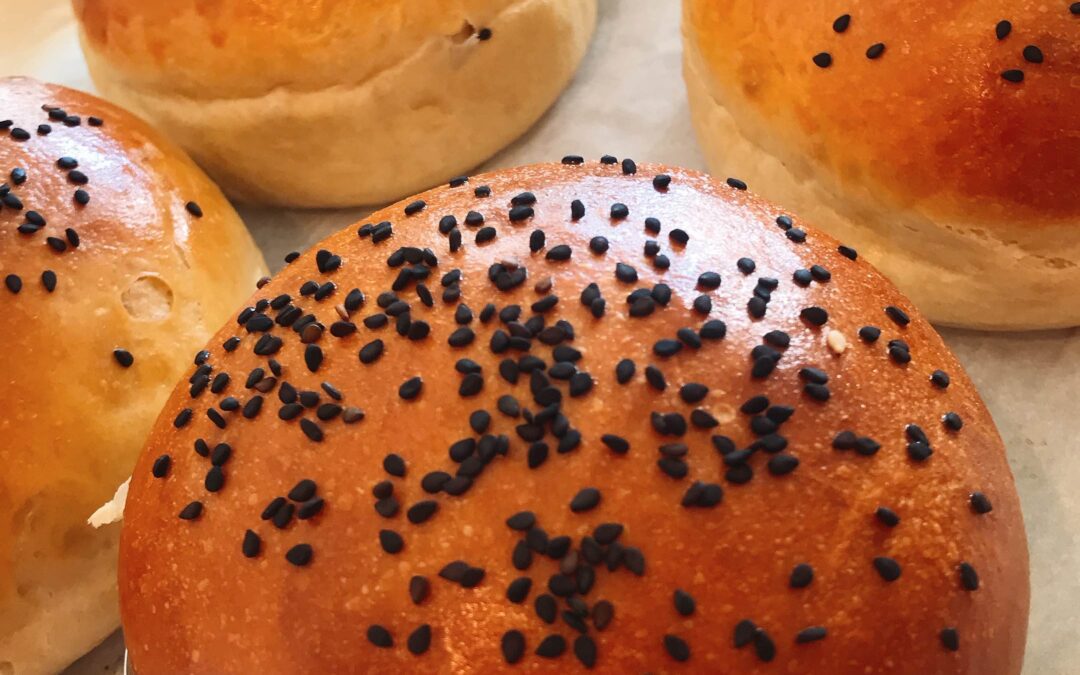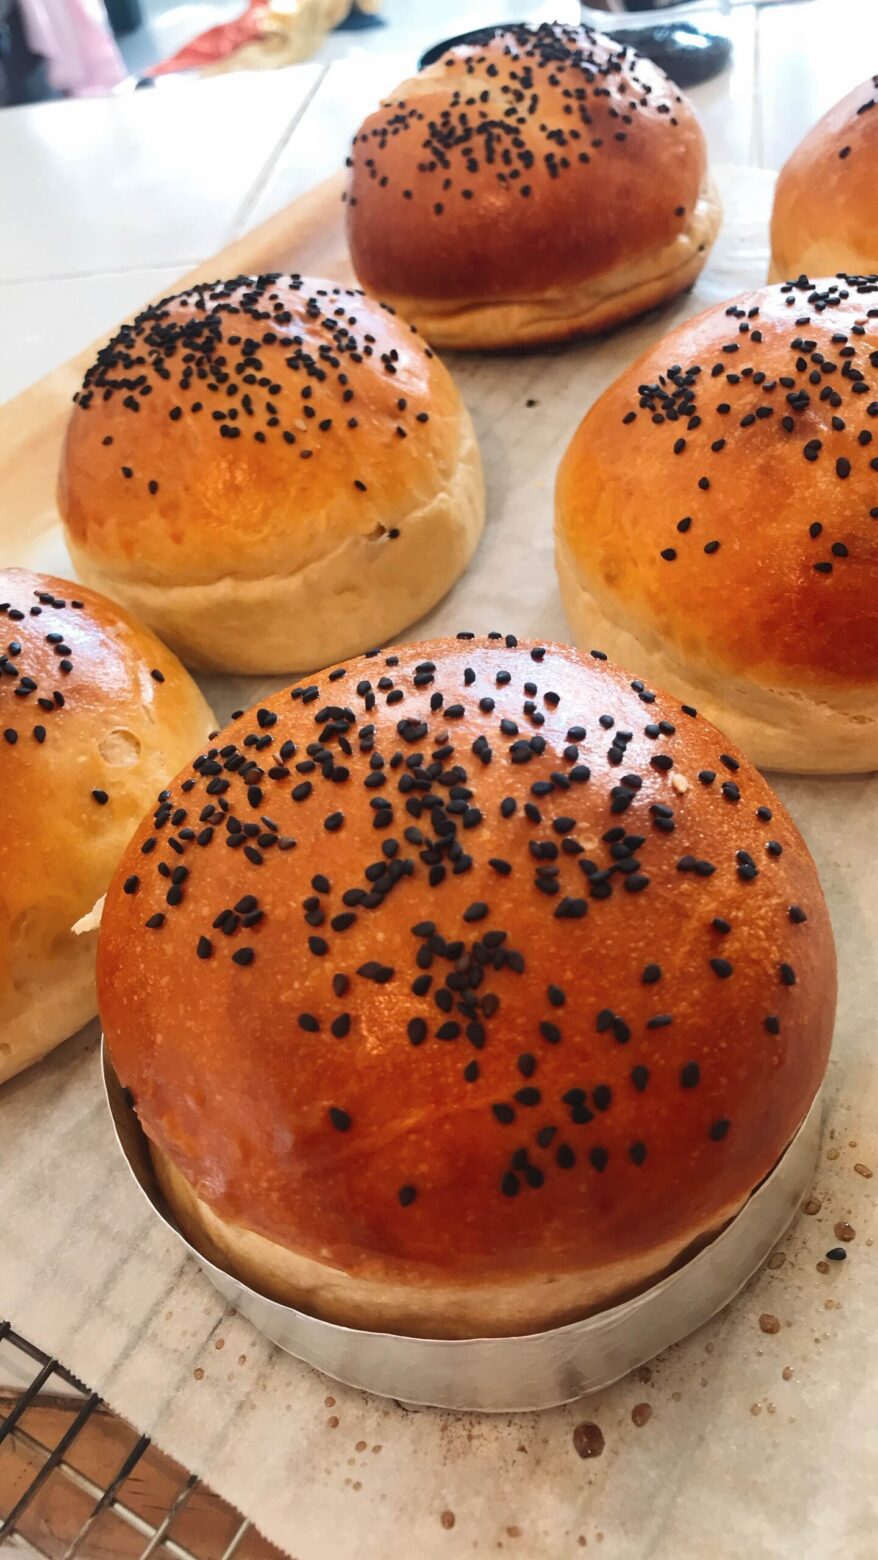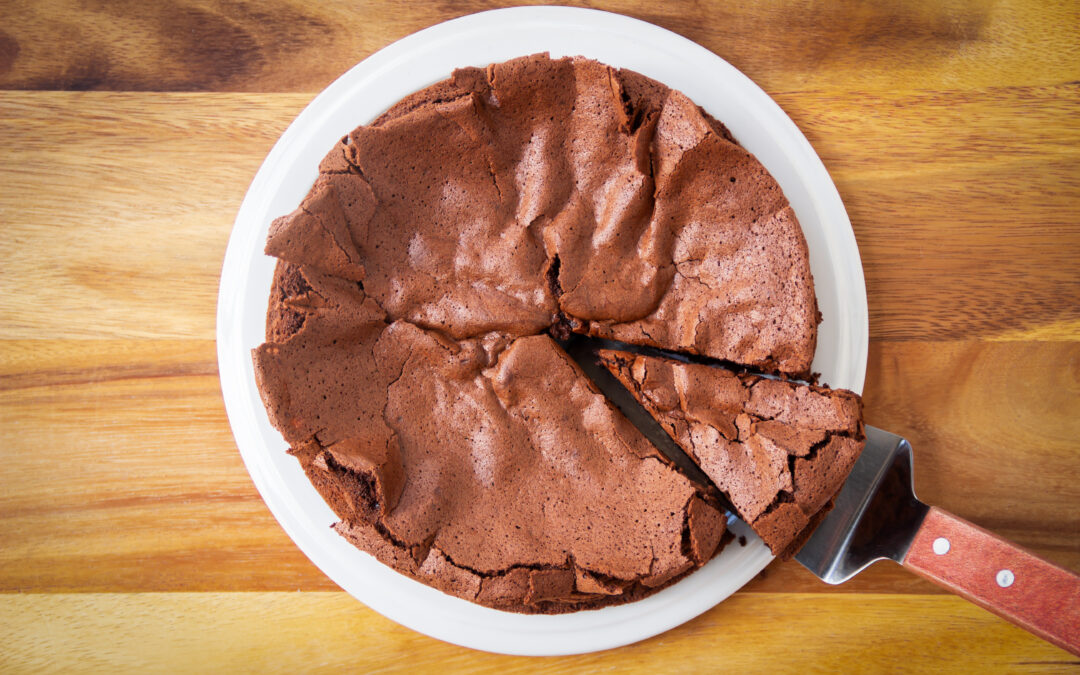
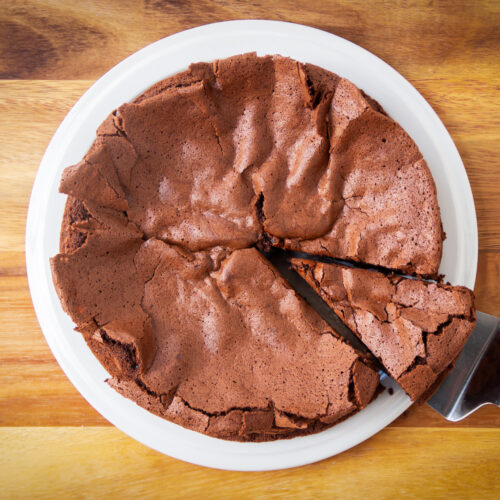
Flourless Cake
Beyond Flour: The Tale of Flourless Cake
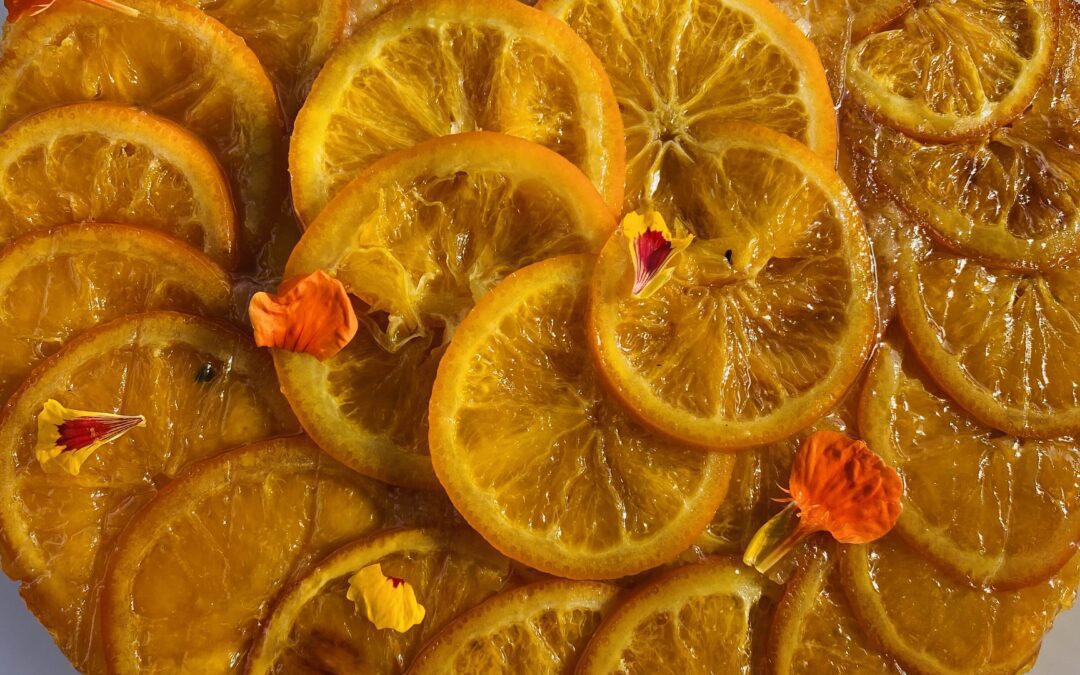
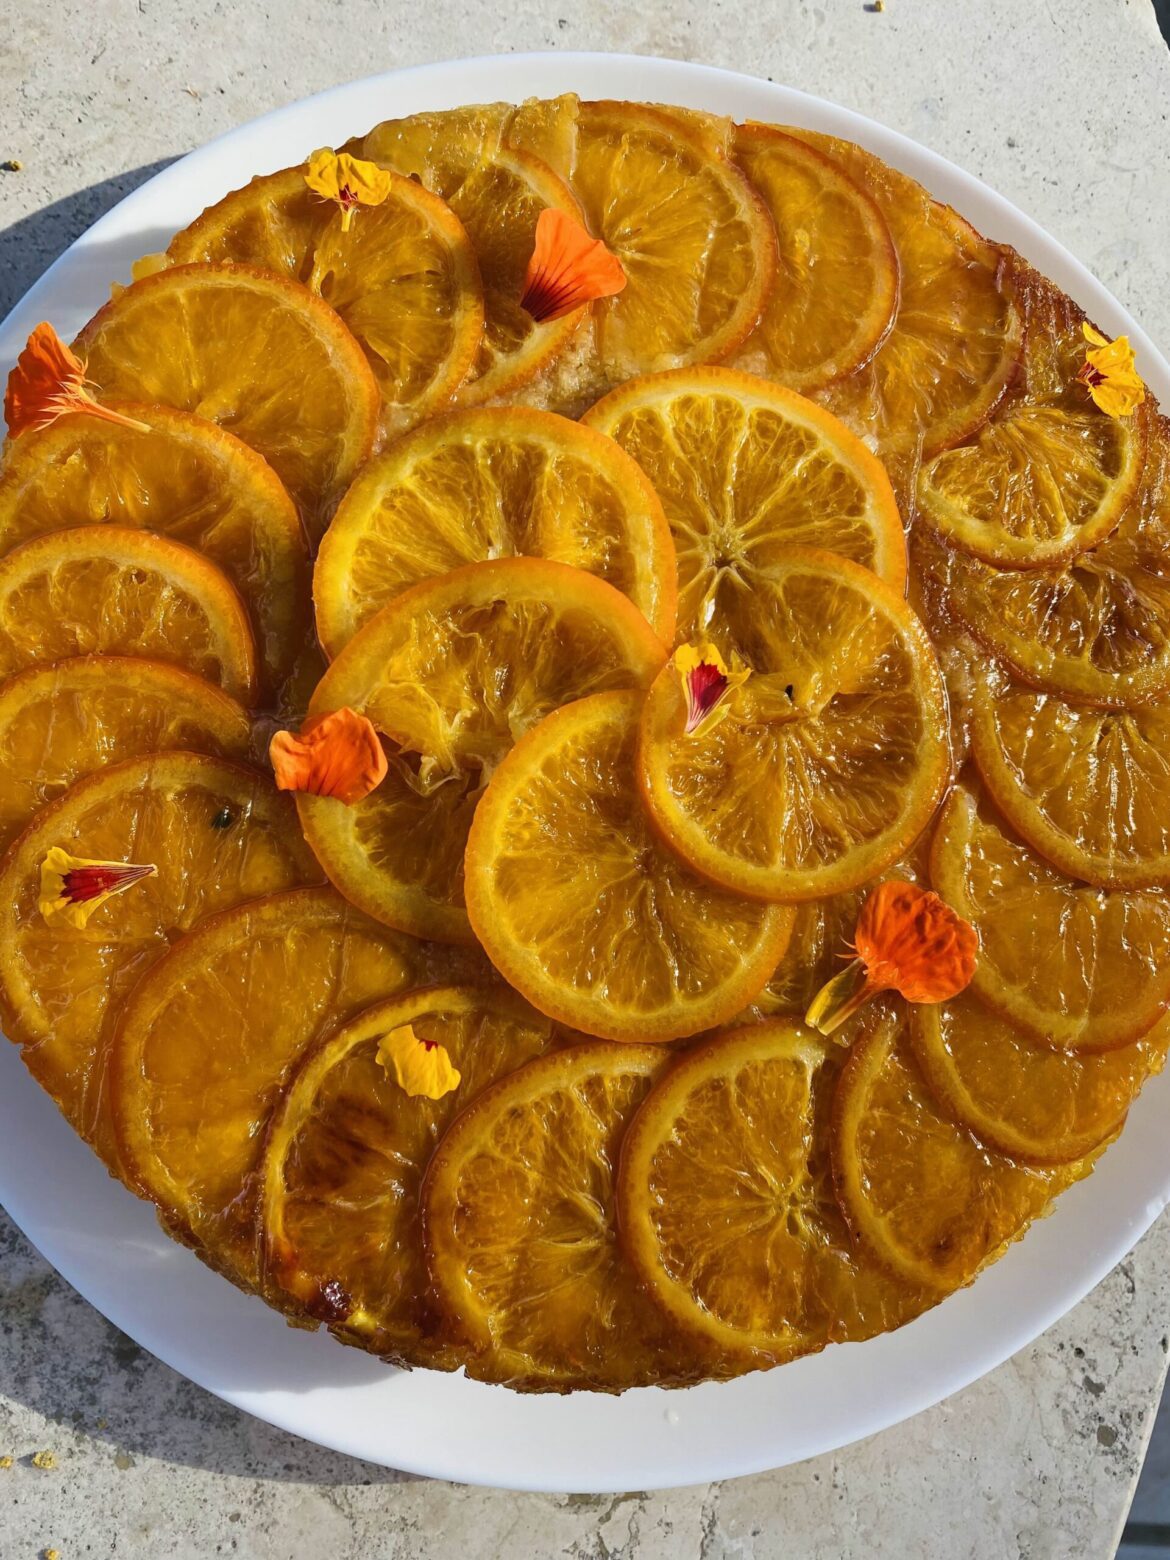
Close your eyes for a moment. Imagine the rich aroma of melting chocolate, the gentle whirring of a mixer, and the anticipation of something truly indulgent. Now, open them to embark on a journey into the realm of decadence with our Flourless Cake recipe. In a bustling kitchen, where the clinking of utensils orchestrates a symphony of flavors, our adventure begins. Picture a velvety smooth blend of semi-sweet chocolate, infused with the essence of Ghirardelli, melting delicately in a double boiler. Each moment is a step closer to crafting a masterpiece.
The Art of Preparation
As the chocolate surrenders to its liquid form, a splash of rum or amaretto joins the dance, infusing the concoction with a spirited twist. Meanwhile, egg yolks await their moment to shine, mingling with almond flour, a sprinkle of salt, and a whisper of sugar. It's a symphony of textures and tastes, each ingredient harmonizing to create perfection. But our journey doesn't end there. No, it takes a daring turn as we venture into the realm of Italian meringue. A caramelization ritual unfolds, as sugar transforms into golden caramel in a saucepan. Meanwhile, egg whites whip into a frenzy, reaching peaks of airy perfection.
With practiced precision, caramel meets egg whites in a swirling embrace, giving birth to a glossy, pearl-like meringue. It's a spectacle to behold, a testament to the artistry of baking. And now, the pièce de résistance. Melted chocolate and almond flour mingle with the ethereal meringue, each fold a promise of divine decadence. With the gentlest touch, the mixture is poured into a waiting pan, destined for the heat of the oven.
Flourless Cake
Ingredients
Ingredients:
- o 286 gr semi-sweet chocolate preferably Ghirardelli.
- o 112 gr neutral oil.
- o 60 gr rum or amaretto.
- o 6 egg yolks.
- o 6 egg whites.
- o 60 gr almond flour.
- o 3 gr salt.
- o 125 gr sugar.
- o 30 gr vanilla.
- o 57 gr water.
Instructions
Preparation:
- Preheat oven to 350°F.
- Melt semi-sweet chocolate in a double boiler.
- Mix melted chocolate with 60 gr of rum and 57 gr of water.
- Mix 6 egg yolks with almond flour, 25 gr of sugar, and salt.
Notes
1. In a saucepan, make a caramel with the remaining 100 gr of sugar.
2. Cook over low heat until the sugar dissolves.
3. While the sugar is dissolving, beat the egg whites in a mixer on speed 4.
4. Both the caramel and egg whites should be ready at the same time.
5. When the caramel is ready, pour it in a thin stream from one side of the mixer into the egg whites, while increasing the mixer speed to 6-8.
6. Stop the process when the meringue is shiny and pearl-like.
7. In a separate bowl, gently fold the melted chocolate mixture with the almond flour mixture, being careful not to break the meringue's air layer. Fold the mixture with the meringue.
8. Line a removable cake pan with parchment paper on the bottom. Pour the mixture into the pan and place it on the middle rack of the preheated oven. Bake until a toothpick comes out clean, about 30 minutes.
Where Indulgence Meets Mastery
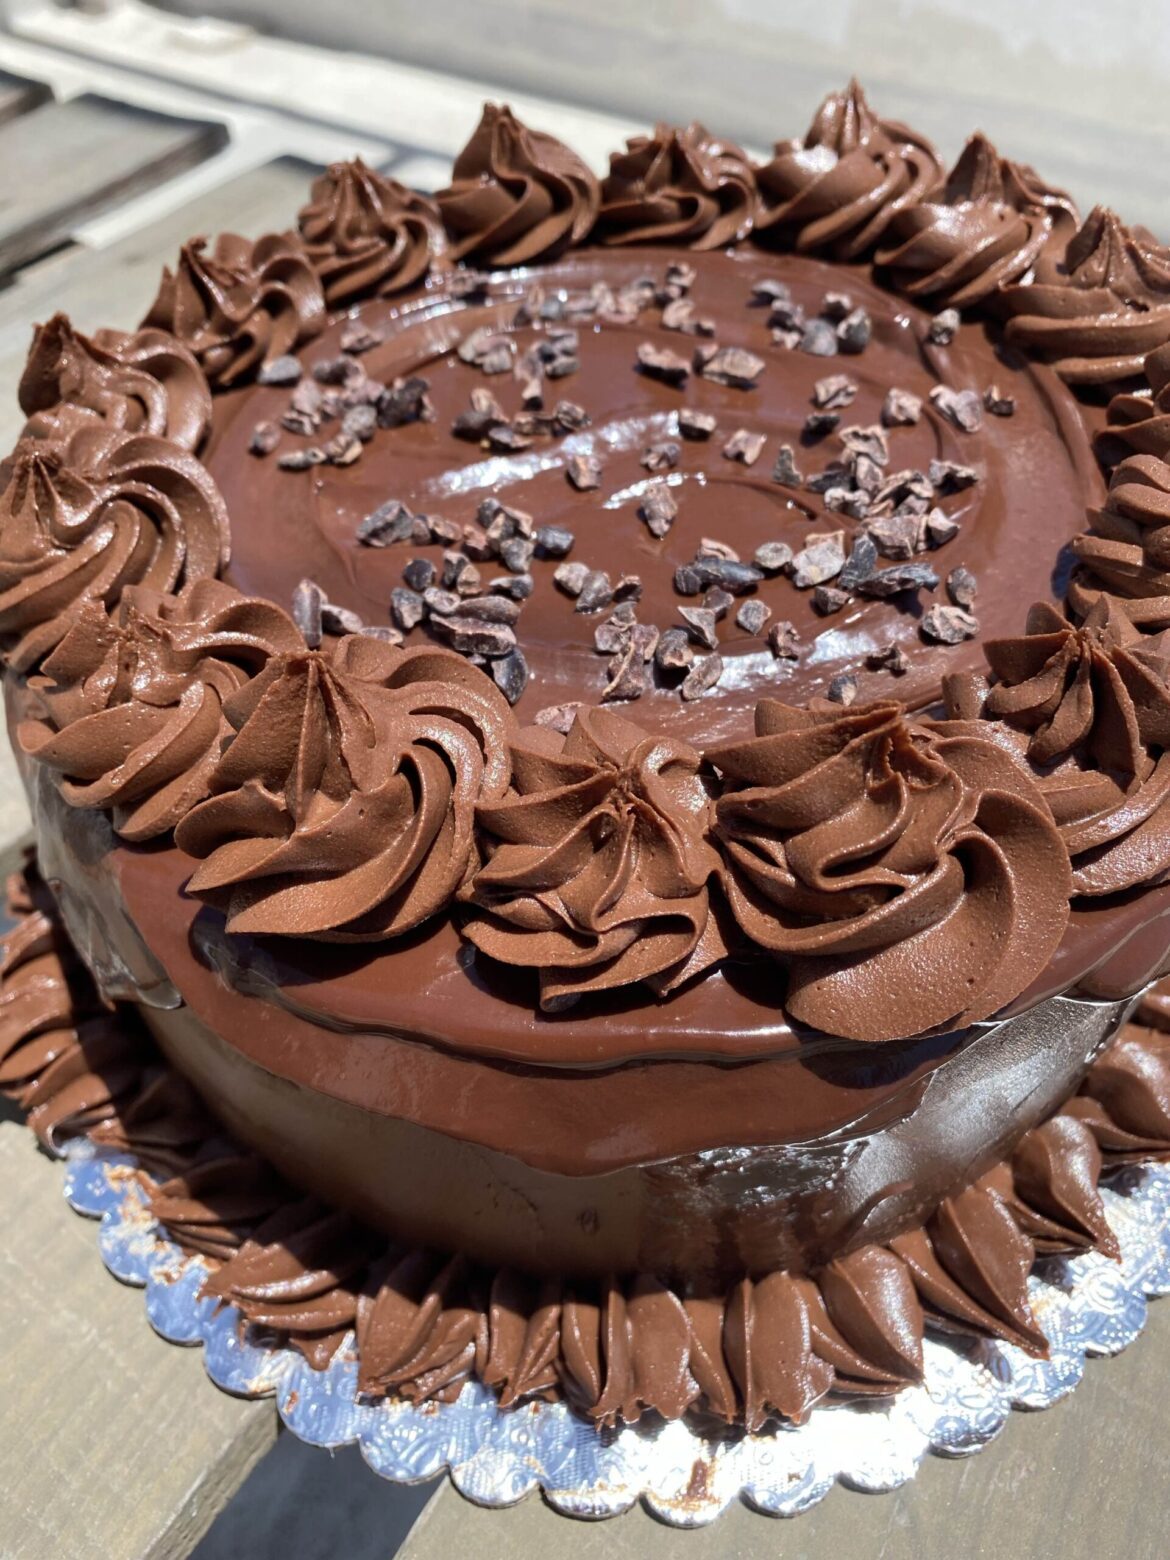
As the cake bakes, its aroma fills the kitchen, tantalizing taste buds and stirring hearts with anticipation. And when the timer chimes its sweet melody, a masterpiece emerges, golden and glorious, with a crumb so tender, it melts on the tongue. This, dear friends, is not just a cake. It's a symphony of flavors, a testament to the magic of baking without boundaries. So, gather your loved ones, pour a cup of coffee or a glass of wine, and indulge in the wonder that is Flourless Cake. For in every bite lies a story—a tale of indulgence, passion, and the joy of creation.
 Are you interested in learning more?
Follow topics related to recipes on our newsletter or instagram.
Join our
Newsletter
To stay in the loop, we invite you to sign up for our newsletter. By doing so, you will receive regular updates straight to your inbox, keeping you informed of everything Mo.Bo. Cabo has to offer.