Churros
Irresistible Delight of Homemade Churros
As the golden sun sets, casting a warm glow over the bustling streets, there's a familiar aroma wafting through the air. It's the scent of sweetness, of anticipation, of memories waiting to be made. It's the scent of freshly fried churros, crispy on the outside, soft and doughy on the inside, dusted with a generous coating of cinnamon sugar. Join me on a journey as we unravel the secrets behind crafting these Spanish delights from the comfort of your own kitchen.
The Art of Preparation
Imagine stepping into a cozy kitchen, the air filled with the tantalizing scent of butter and vanilla. It's here where our adventure begins. We start by melting butter in a pot, infusing it with the essence of sweetness and richness. Then, we add water, a sprinkle of salt, and just the right amount of sugar to balance the flavors. As the mixture simmers gently, we stir in flour, watching it transform into a thick, velvety dough. But what sets these churros apart is the harmony of flavors dancing within the dough. A dash of vanilla extract adds depth, while a hint of orange extract lends a subtle brightness, elevating each bite to a symphony of delight. And as we crack eggs into the mixture, blending them seamlessly, the dough takes on a newfound richness, promising a decadent experience with every bite.
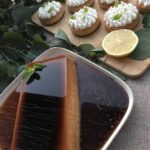
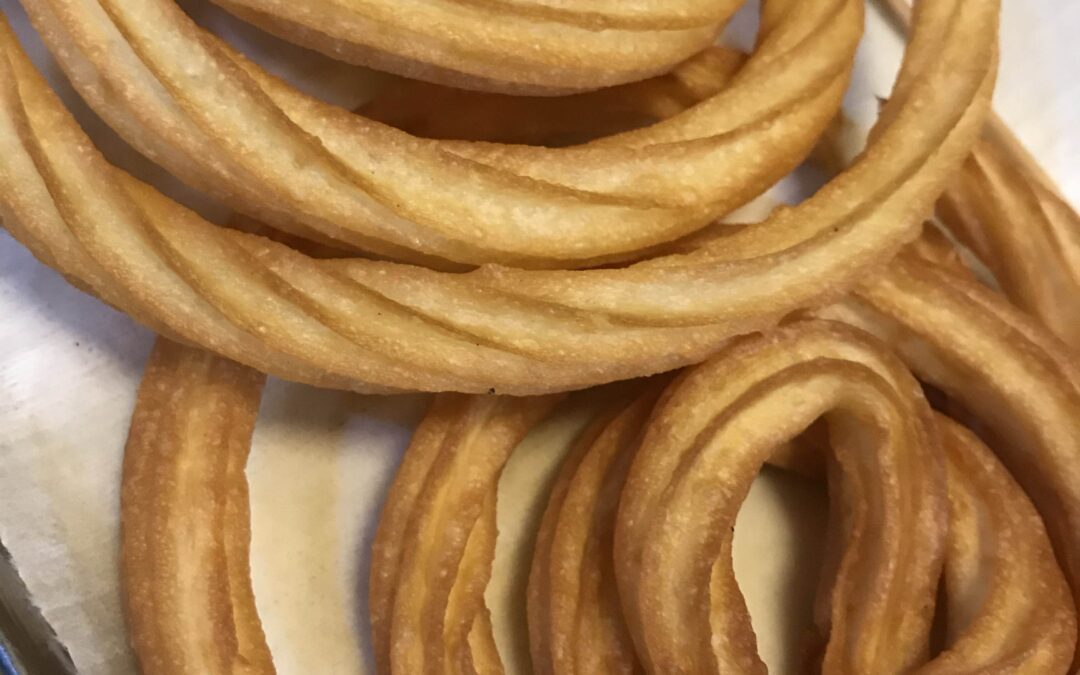
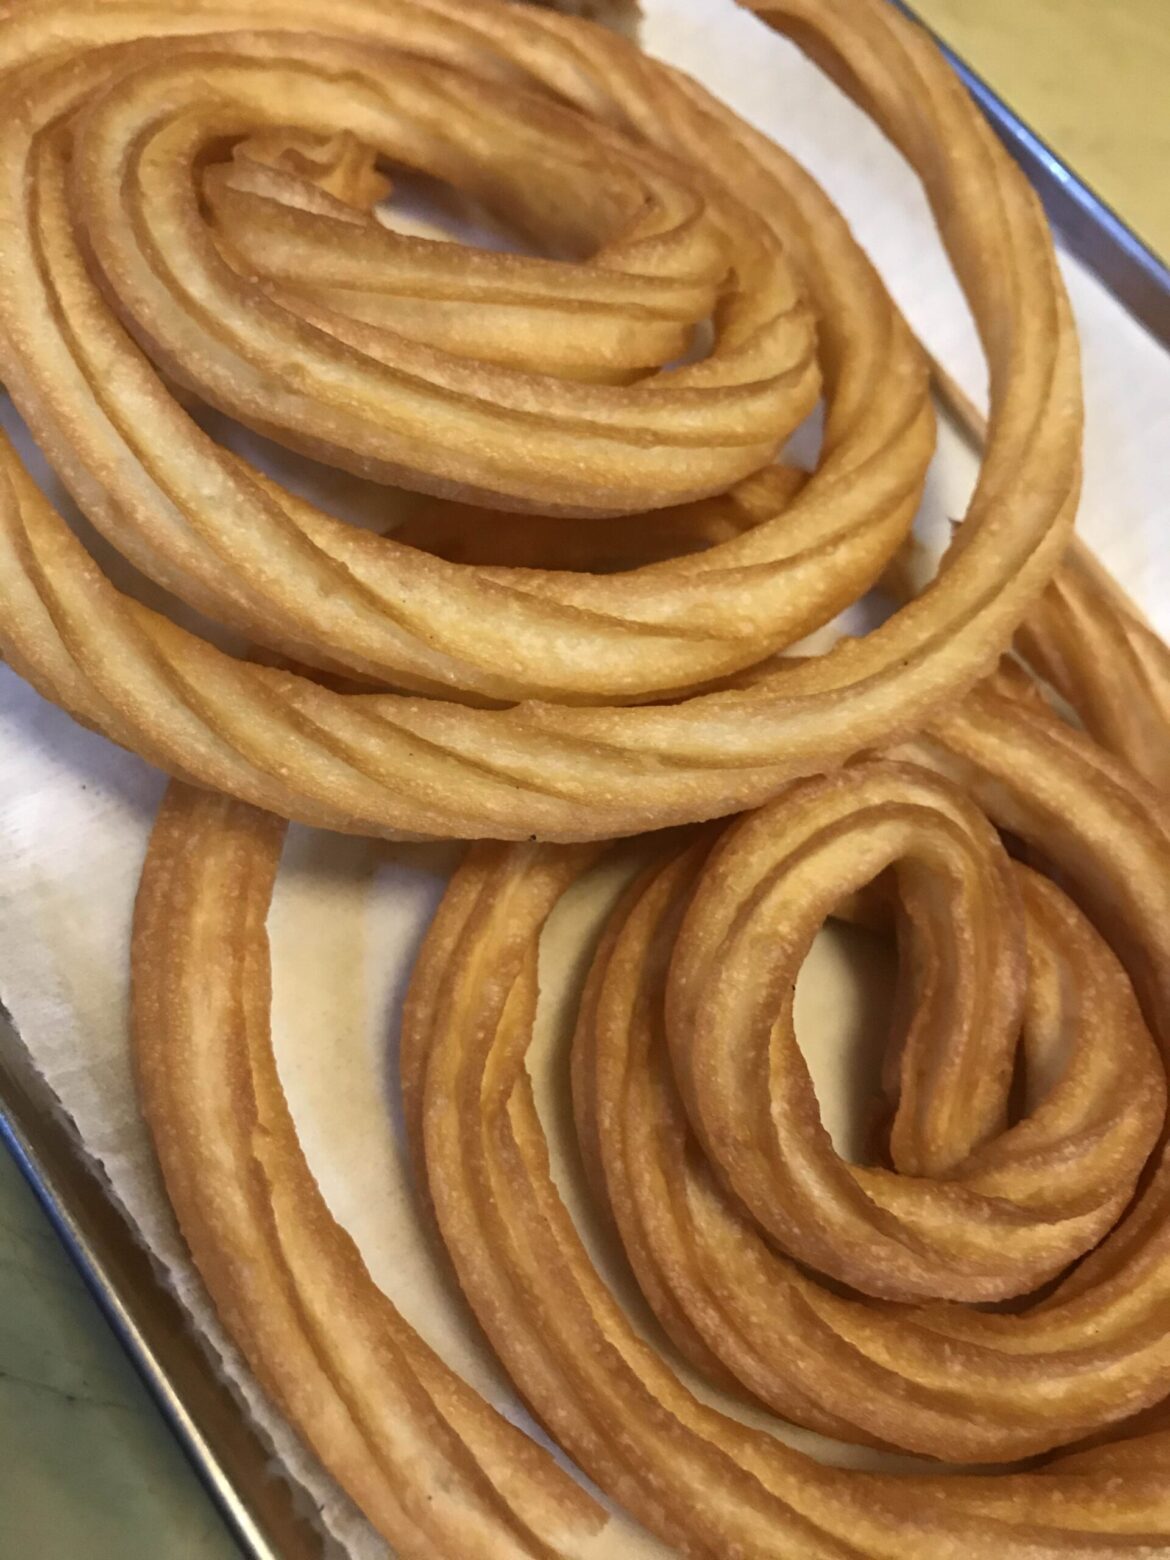
With our dough ready and waiting, we turn to the art of frying. As the oil sizzles and dances in the pan, we gently pipe the dough into long, elegant ribbons, watching them sizzle and puff to perfection. With each churro lovingly fried to a golden crisp, we eagerly await the moment of transformation. But no churro is complete without its final flourish. In a bowl, we mix together cinnamon and sugar, creating a magical blend that will coat our churros in a blanket of sweetness. And as each churro emerges from the fryer, glistening with oil, we roll them in this enchanting mixture, watching as they sparkle and shine, ready to be devoured.
As we gather around the table, plates piled high with freshly fried churros, there's a sense of anticipation in the air. With each bite, we're transported to sun-drenched streets, to memories of laughter and joy. And as we savor the crisp exterior giving way to a soft, pillowy center, we're reminded that sometimes, the simplest pleasures are the most extraordinary.
Churros
Ingredients
Ingredients:
- o 90g butter.
- o 235g water.
- o 20g white sugar.
- o 9g vanilla extract.
- o 6g salt.
- o 140g flour.
- o 3 eggs.
- o 1 egg yolk.
- o 1tsp orange extract.
Instructions
Preparation:
- Melt the butter in a pot, add water, salt, and sugar. Then add the flour and cook until a thick and cohesive dough is formed. Remove from heat.
- Using a stand mixer, mix the dough with eggs until a smooth paste is formed. Place the paste in a piping bag and let it rest until ready to fry.
Decoration:
- In a bowl, mix cinnamon powder and sugar.
- Fry the churros and coat with the cinnamon and sugar mixture.
Join the Adventure: Savoring the Moment
So why not embark on your own churro-making adventure? With just a handful of ingredients and a sprinkle of imagination, you too can recreate the magic of Spanish street food in your own kitchen. Whether enjoyed with a steaming cup of hot chocolate or simply savored on their own, these homemade churros are sure to delight your senses and warm your soul. So go ahead, take a leap into the world of homemade goodness, and indulge in the irresistible delight of churros.
 Are you interested in learning more?
Follow topics related to recipes on our newsletter or instagram.
Join our
Newsletter
To stay in the loop, we invite you to sign up for our newsletter. By doing so, you will receive regular updates straight to your inbox, keeping you informed of everything Mo.Bo. Cabo has to offer.